How Do We Plan An Extended Trip
And The Tools We Use To Do It
Planning any trip can be exhausting, but to plan an extended trip on the road with any RV can twist your brain in so many ways it is not funny! We are still pretty much rookies, but we have enough experience to know what works for us, and hopefully will work for you as well... If you have any comments or suggestions to what we have here, by all means feel free to shoot us an email with your thoughts and/or ideas! We are always open to making this process easier and faster!
THE BASICS: (considering you already have a computer/laptop/mobile device and an internet connection)
1. First off you must have a fairly clear idea of your basic route, the major sights/areas you want to visit, and a basic time frame for how long you have for you trip. If you are full timers (live in your RV full time) you still probably have an idea of where you might want to go and for how long.
2. Second, you must have a good mapping application to plan your actual route your going to travel. We use Google Maps along side RVlife Trip Wizard. We're sure there are many more applications out there, but these are what we use and it works well for us.
3. A trip planning application is not totally necessary but HIGHLY SUGGESTED. We use RV Life Trip Wizard as it is simple to use, integrates with other useful tools such as Harvest Hosts, and can run on multiple platforms. Being an online based app, it is very easy to use next to Google Maps and simply jump between applications by clicking tabs above the header or toolbar.
4. We also recommend purchasing a few subscriptions for discounted RV Park rates. We use Harvest Hosts and Passport America, but there are a ton of them out there. Any others that look good to you might help you save money in the long run if you are on the road long enough. Harvest Hosts can be subscribed with RV Life Trip Planner so that makes things extremely easy and a little less expensive when subscribed together. Using these money saving subscriptions kind of adds a little more time in the planning phase as it brings in more parameters, but in the long run saves you money.
5. Not part of the planning really as prices change like the wind, but Gas Buddy is an app that we use while on the road for finding the best prices and or location for fuel. A free app that we highly recommend!!!
So once you have all the above things in place, bring up at least three internet tabs (windows) on your preferred browser. You will actually end up with more than three, but lets start with that. In the first window get RV Life Trip Planner running. In the second window get your Google Maps running. Then in your third window get something like Passport America (discount RV Park membership listed above) running. We also have a fourth window running which is Harvest Hosts and a fifth is straight Google for doing searches. The image below shows our computer screen in full on planning mode. Notice the tabs on the top that indicate what we have running. Google Maps on the left, two RV Life tabs, Passport America, HaRVsays (Harvest Host), Rio Grande Village (which is a search response for Google), and then another Google Maps for a much broader search of the area.Usually there are a couple more windows with things like the RV Parks or campgrounds we are looking at for the area/stop/overnight we are planning.

Jumping forward a bit, we plan one stop at a time in consecutive order as much as we can. Make a decision and move to the next stop, just easier for us rather than jumping forward and backward all the time.One thing we want to mention, unless you make non-refundable reservations, you can make changes/modifications to your trip which is very easy to do in Trip Wizard. Just remember, if you make a time line change it effects everything forward from that change meaning if you add a day here, it's going to move everything forward on your trip schedule by that added day. Trip Wizard does not care, but you might have something on your schedule that is a non movable date, so adjustment must be made some where in the middle between the changed date and the non-movable date, just keep that in mind.
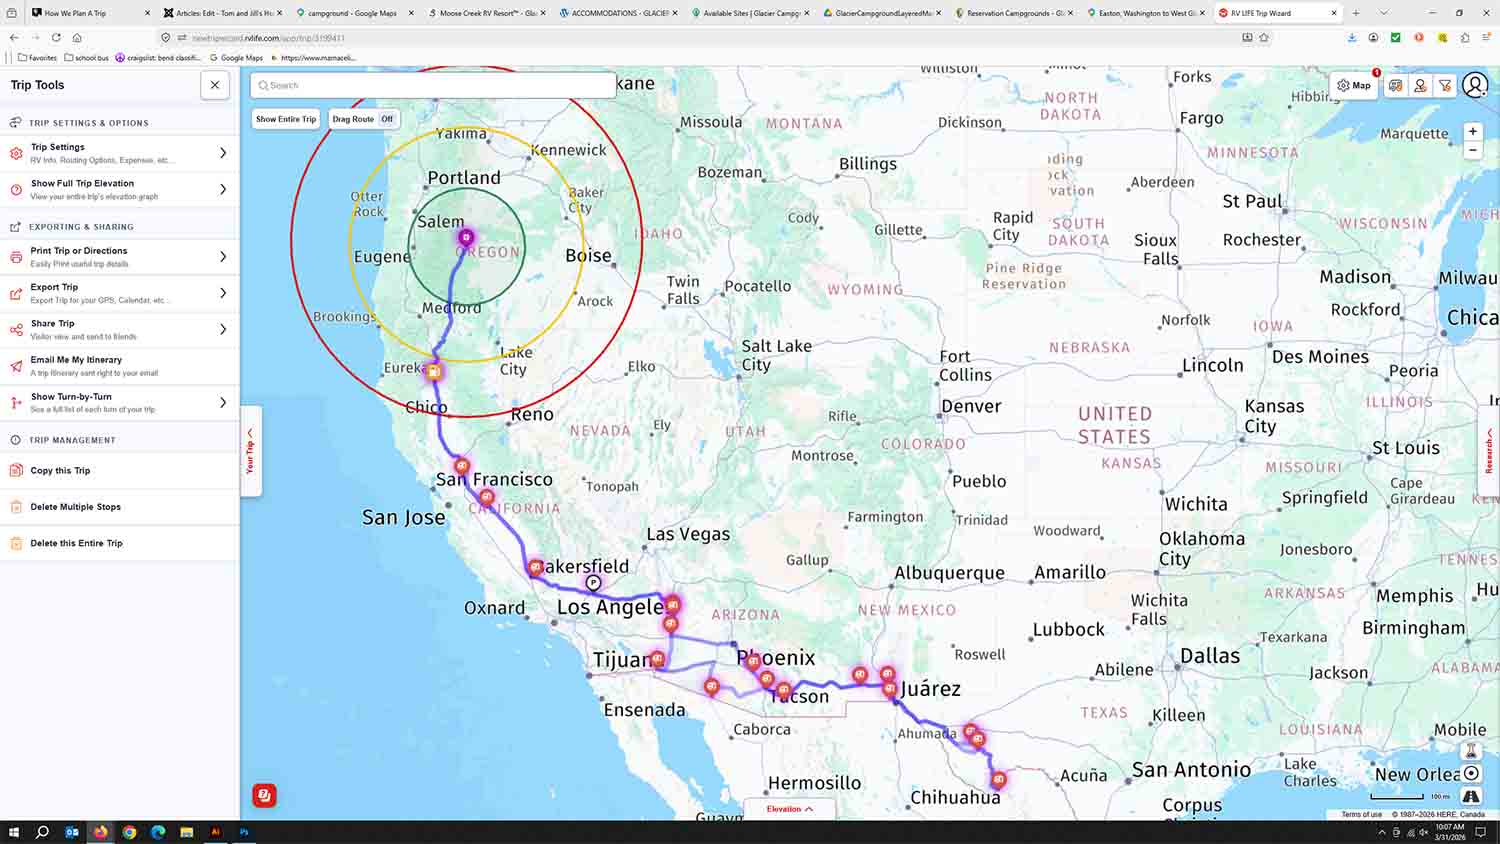
The image above is zoomed in a little and does not show our entire trip, and includes some options for camping spots. The image below shows the entire desktop view of the open window, the trip itself with all our schedules stops and the route we planned. The side pane on the left lists the actual schedule with stops, dates, mileages, days stayed and by clicking on each individual date it will zoom in to show you a much closer view of the map helping you find your way to the stop. Of course if you have google maps running on your phone or dashboard readout, you can plug in the information and navigate that way, which is how we do it
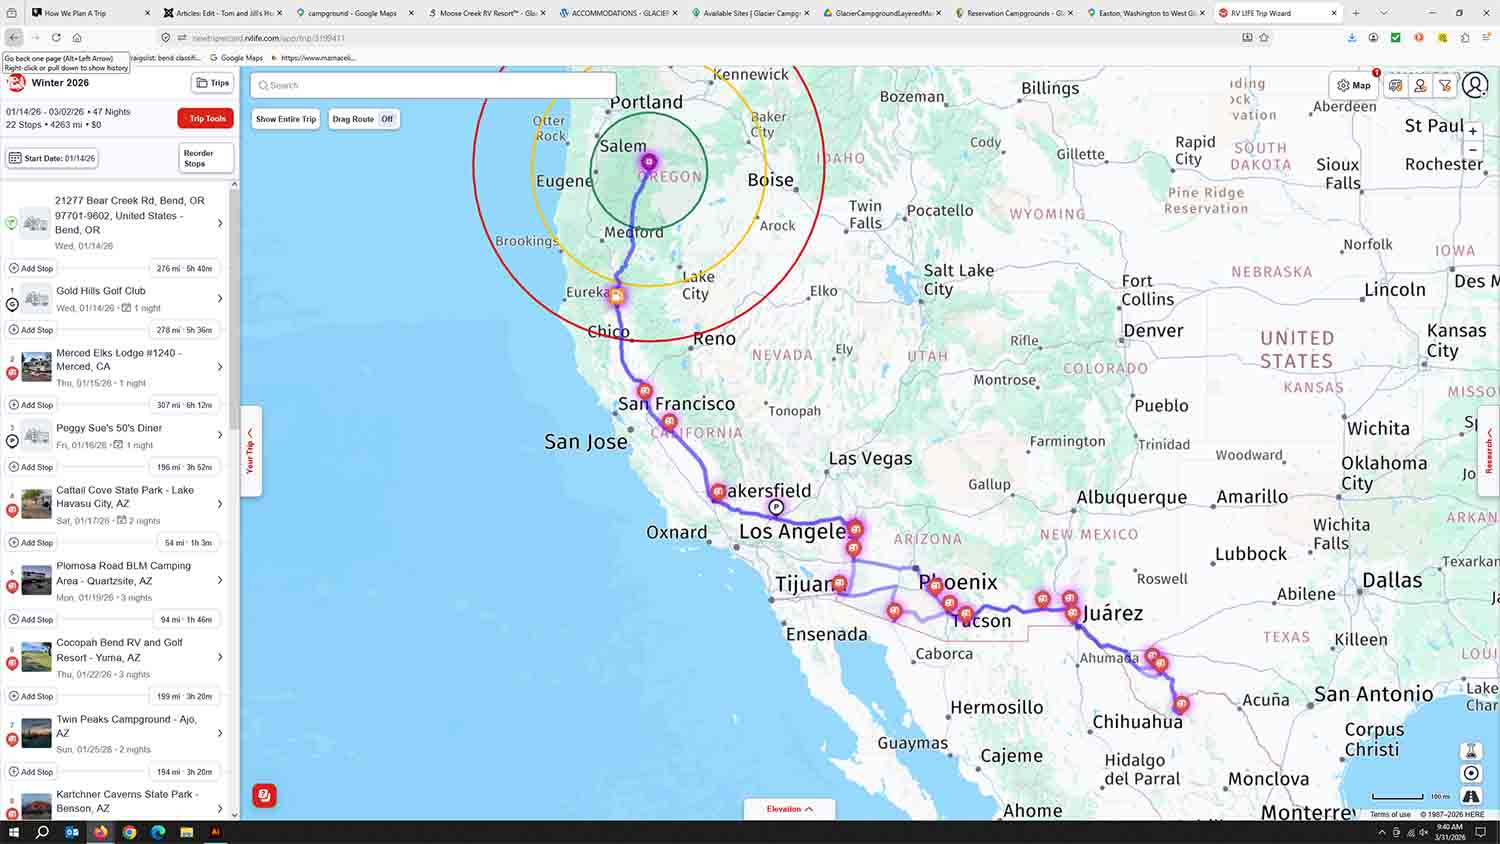
Also included in the image above you will notice the three colored circles around our starting point of Bend. Those circles are adjustable for your specific driving preferences, and are distance markers from your starting point for that day. Ours is set to 100 miles (green), 200 miles (yellow) and 300 miles (red) as we like to keep our days limited to 5-6 hours and/or 300 miles. Of course you can set your preferences up however you want, but for us these are our guidelines that works for us. It helps in the planning for a spot to stay so that you don't have to revert to Google Maps to figure that out. You can also set the radius to traveling time as well, say five-six-seven hour radius rather than miles, whatever floats your boat (or RV in this case).
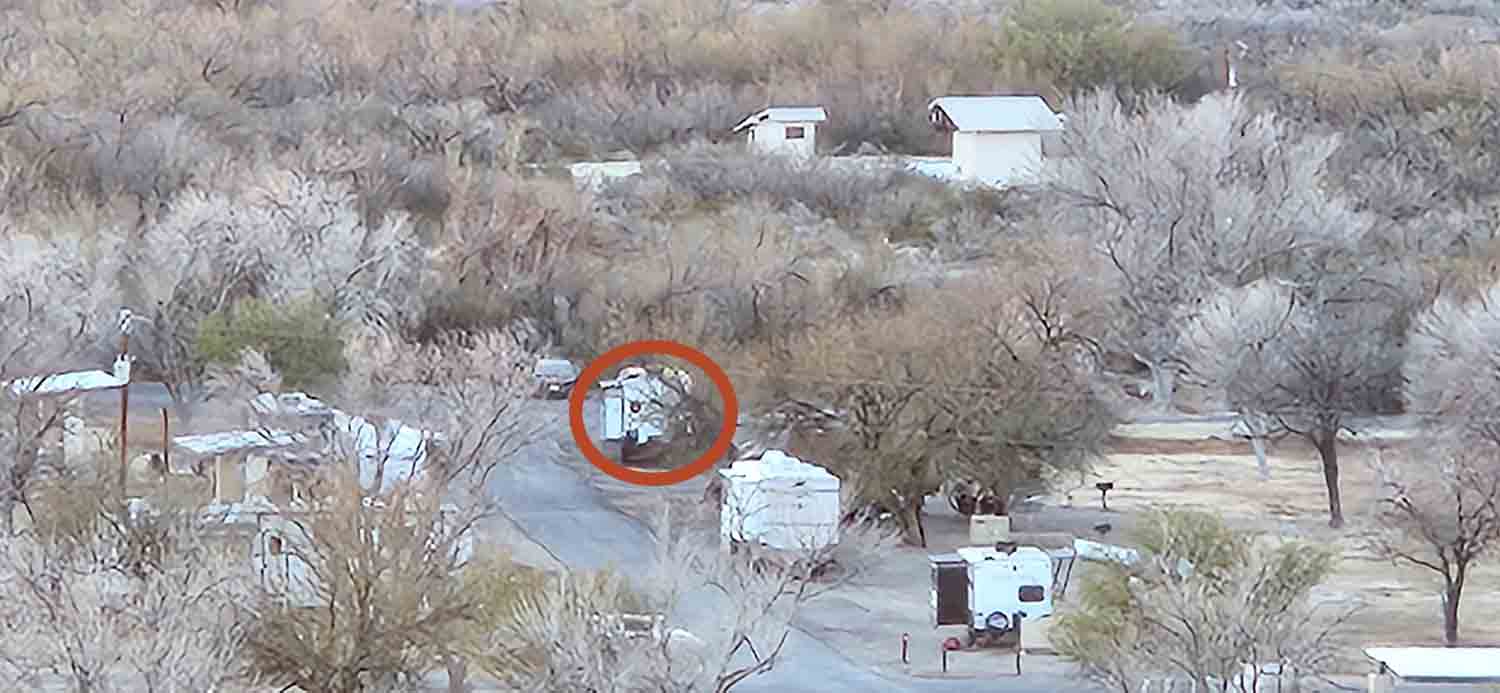
Lets get into the actual use of Google Maps beyond just the route planning thing. We use it to get a good idea of all different types of areas we will visit. The Google Street View is GREAT as it gives you an idea of the neighborhoods or actual campsites you might want to stay at. In the image below you can see how we worked our way through the Rio Grande Camping area in Big Bend National Park to help in finding sites that would work for us. The first image is the actual site we chose, #68 and as you can see plenty of room and no trees, bushes, or obstacles that would limit our rig. You can do this for a lot of areas, and if not inside the parks, at least looking in from the main roads alongside them. This will at least give you an idea of the neighborhood at the very least. Of course we use the Google ratings to help make decisions as well. If you look at the bottom of the picture you can see many photos open of the area around this campsite as well

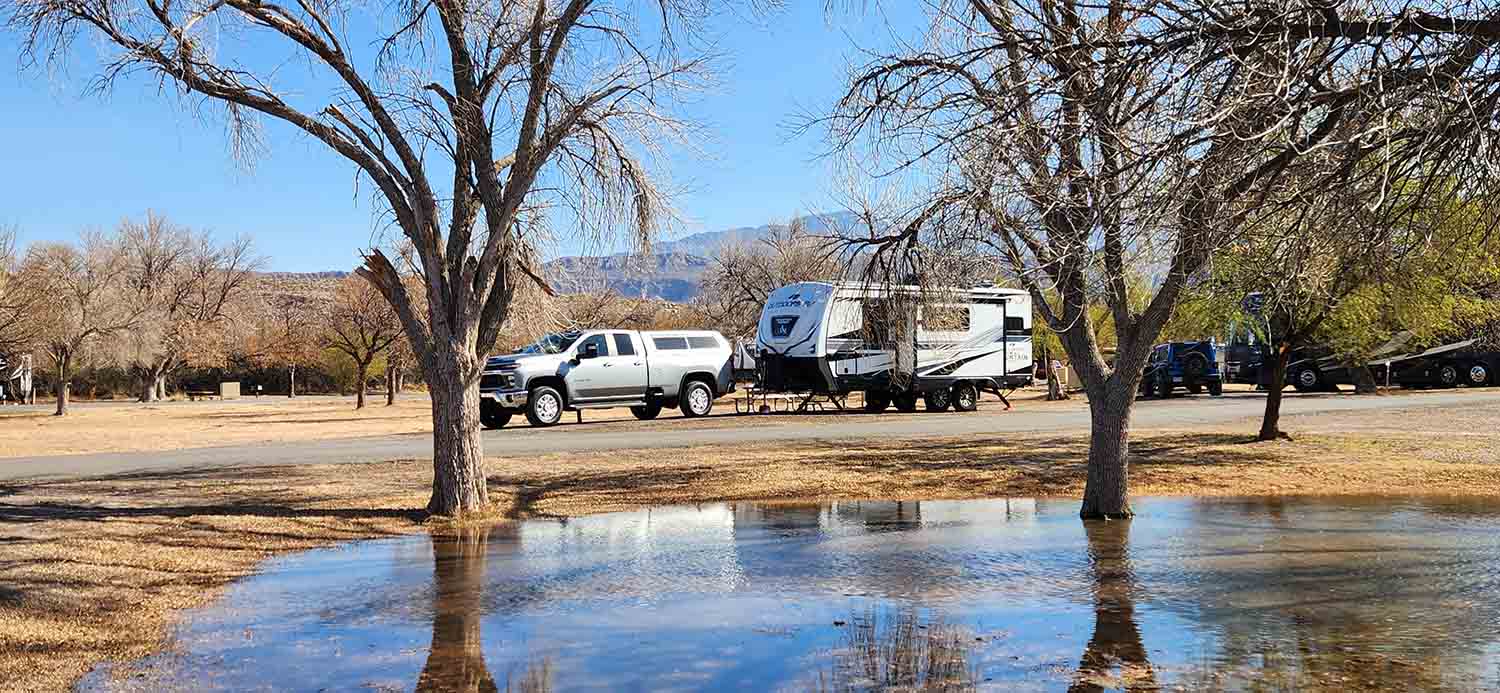
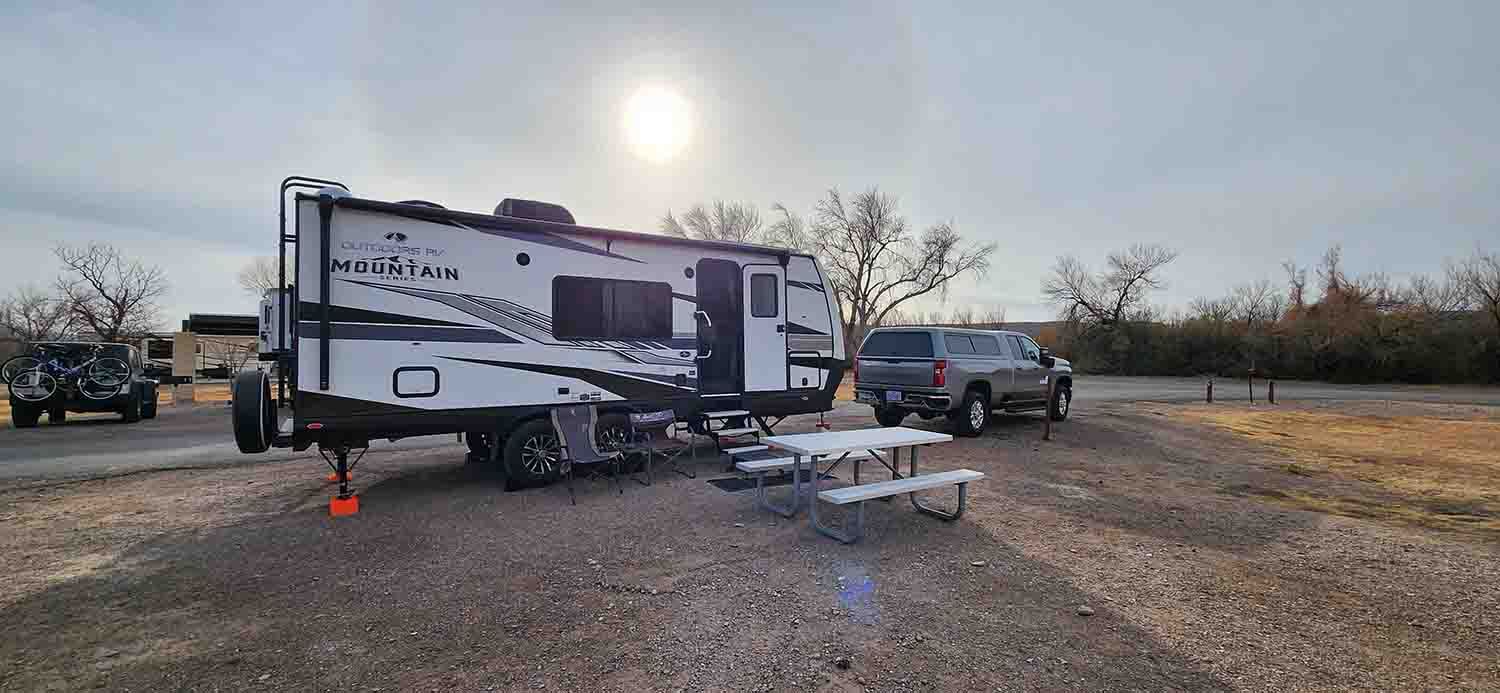
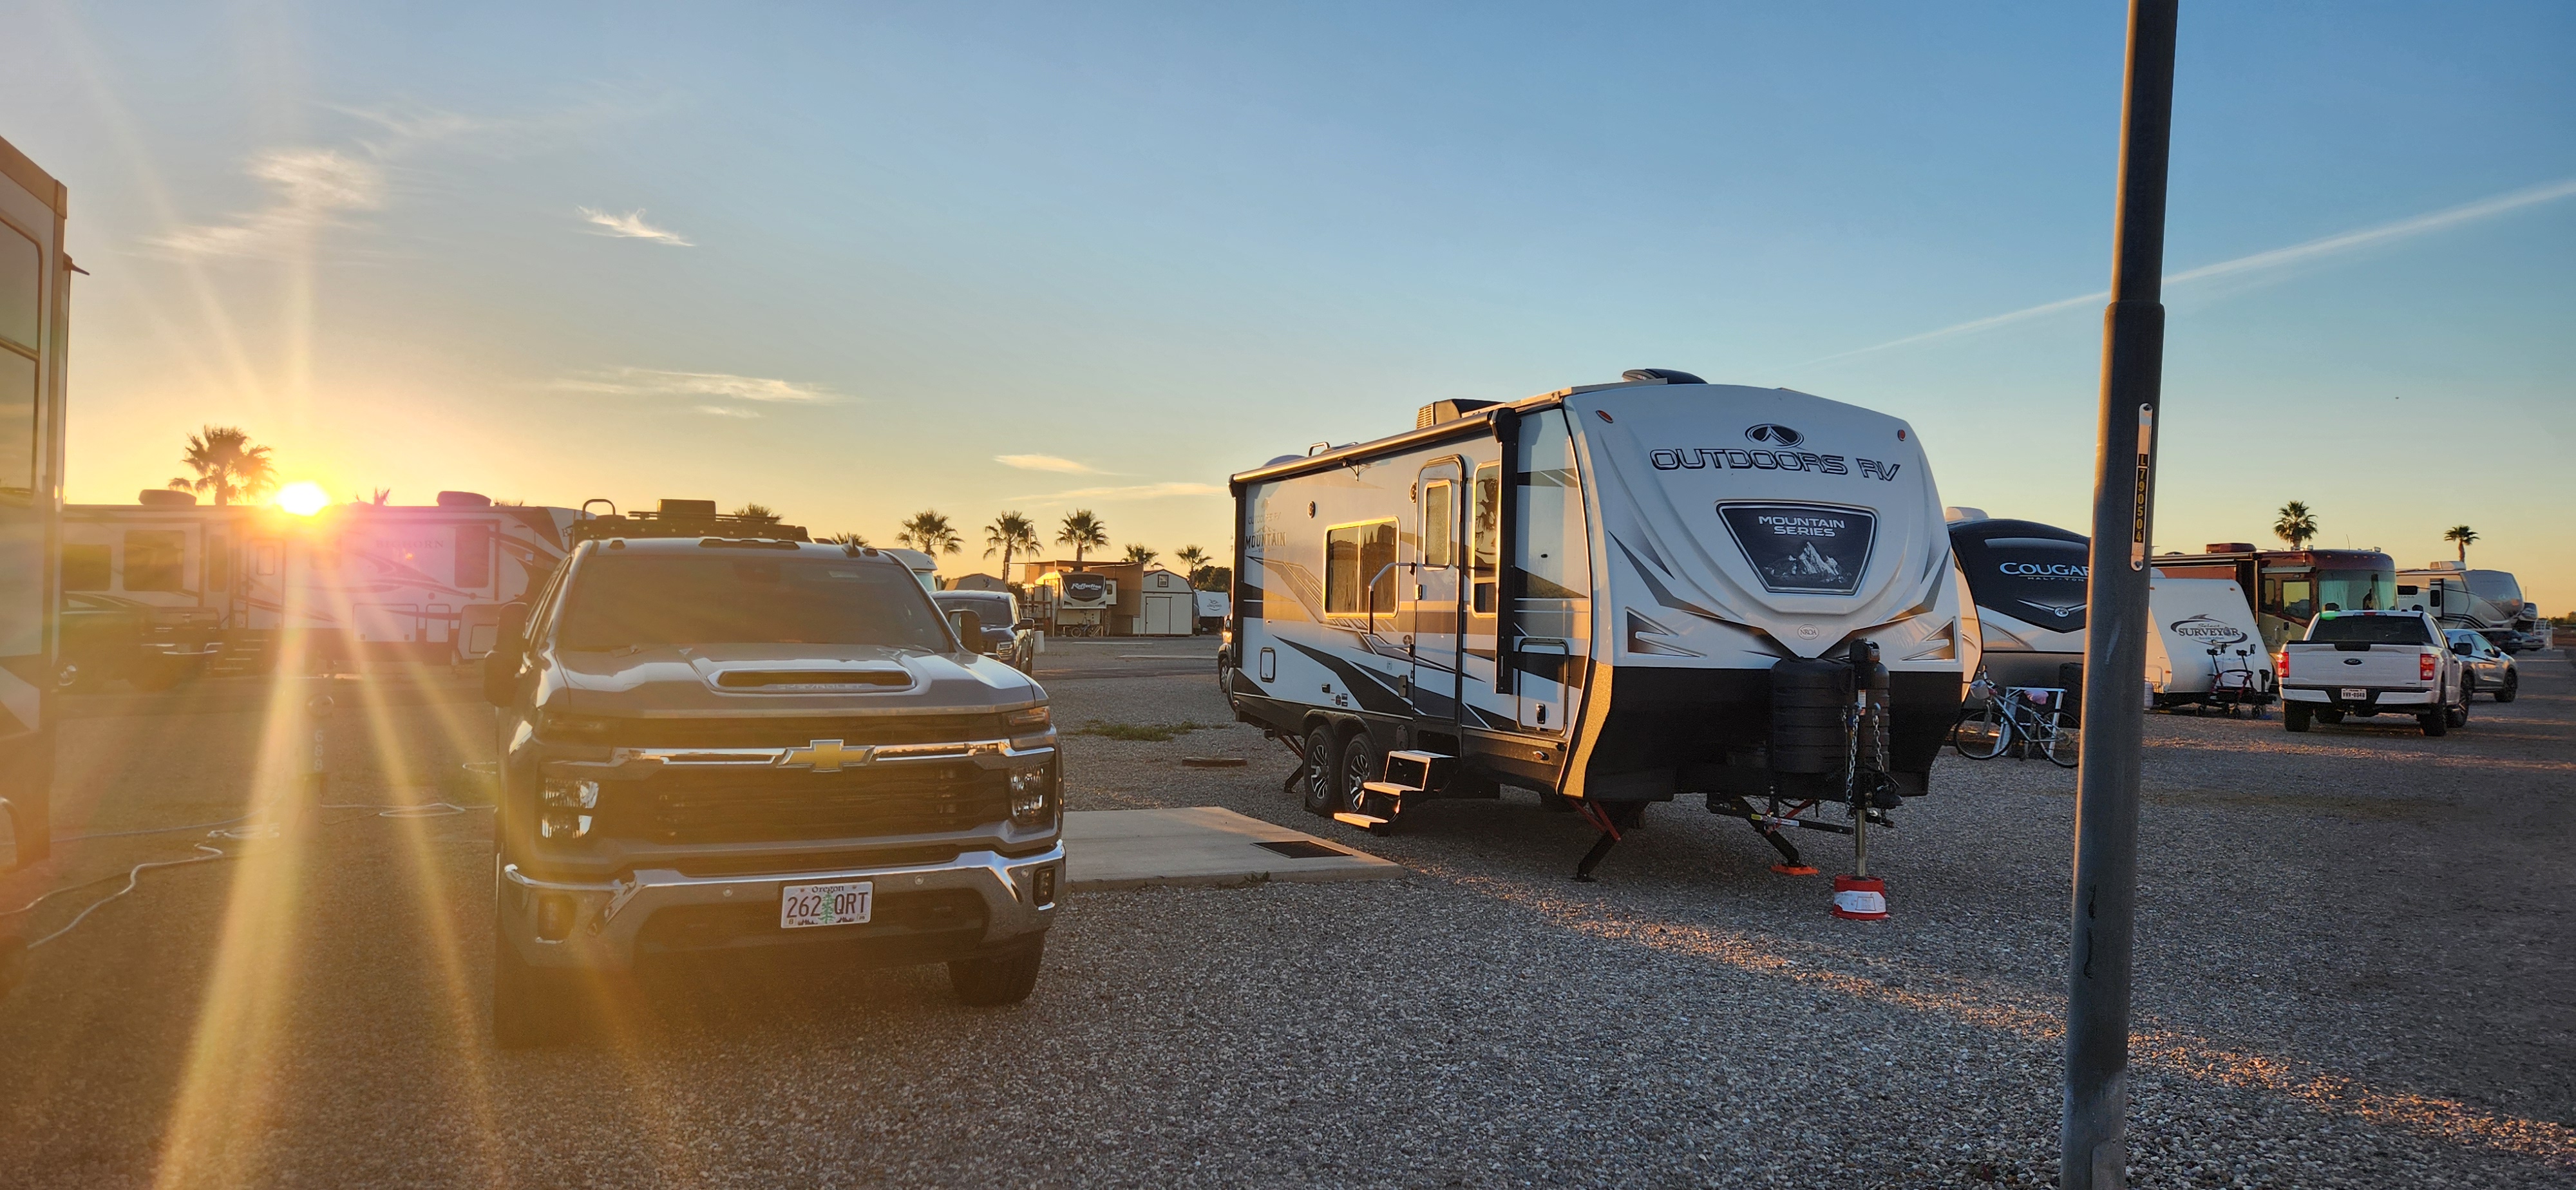
The images below are actual pictures of our rig in site "68" at Rio Grande. Sometimes Google Maps images can be older so things change, but in this case the images we saw while planning matched reality when we arrived. No surprises, and we had a FANTASTIC week exploring the park from this camp site...

So lets talk about each individual component involved starting with RV Trip Wizard. So we use this to keep the individual stops listed in order. The Trip Wizard map works great, but the actual route we choose is a combination of Trip Wizard and Google Maps. The GREAT thing about Trip Wizard is you can input all your rig specs, like height clearances, lengths, weights etc. and it will factor that into the route it will choose for you. We don't like unpaved roads, so we set it up so that those options are avoided, or at least highlighted so that we know to look for alternate routs. It will tell you if a bridge is to low for you height clearance, things like that are good to know PRIOR to encountering them. Once you have your trip set up, you can export all the info in a multitude of ways. Look at the left side of the Trip Wizard image above and you will see the trip settings and options pane on the left where all your options are listed. Trip Wizard has turned into a must for us, well worth the annual price tag of like 80 bucks or so (don't remember for sure but we did do the combo membership with Harvest Host and I think it was like 135 bucks. Prices change all the time so check it out for accurate pricing).
Google maps, we pretty much all use it. It is built into our navigation system in the truck, probably yours as well. But in the planning phase anyway, the ratings for each place we are interested in staying at is invaluable. A park with a bad or low rating is an easy pass, and keep looking until you find something better. Trip Wizard does the same, and even gives you links to each park/area your looking at, quite handy for sure.Possibly the best part of Google Maps in the planning stage is the Street View. Amazing how good the coverage is now, in fact sometimes you can actually go inside a campground/RV Park and see the area/campsite your interested in, not just the road getting there. For those of us with solar and looking at boondocking areas, so cool to see if there are trees around the site your interested in. A forewarn for you, the coverage of Google Maps does not always cover these types of spots, but it is getting better all the time! When we were wondering about smaller back country highways, it was a help to see what shape the roadway was in before deciding on the route. Two lane versus four lane, shoulders, pavement condition, all can be seen by using street view.
Harvest Host is a listing of areas that are available for a free overnight stay. Businesses, wineries, farms, personal property owners and such will let you stay overnight with no charge. The hitch? Well they would just like you to contribute something to whatever interest they have. Like if it's a winery, buy a bottle of their wine. If it's a museum pay the entry fee for the tour. If it's an eating establishment, buy a dinner or piece of pie. You get the idea, just contribute something.
Passport America is a network of RV Parks that offer half off (ish) or more for an overnight stay. Sure beats paying full price, and the cost of the membership is paid in the first two overnights. We use PA quite often, especially on simple overnight stays. Combined with Google ratings, we pick the best deal and/or the best park in the area. They are rather limited in the amount of parks that are in their network, but again, the membership has paid for itself many times over for us.

Some of the base requirements we have for our trips include:
1. Stay flexible??? We really want to stay flexible so we have planed our route, but only making any reservations that we feel are required in advance. Especially for the one night stands at private RV Parks, they usually have openings on a short notice. When planning around our advanced reservation stops, we usually give plenty of time (days) in between so that we can be free to do spur of the moment things. An RV trip can be on a tight schedule, but for us we can always find something to do for a couple days if we are ahead of schedule, so add some time in between for the unknown!
2. Time in the drivers seat each day is an important factor, unless your not geezers like us. There were days in our past that we would drive 14-16 hours a day to get somewhere. But now as we are retired, a schedule is a guideline and not an set appointment every day, so give yourself some extra days for free time in between the scheduled stops. Six hours max works for us, because of the 6 hours, 5 are spent moving and at least one is spent at fuel stops, rest stops, places of interest, lunch or just a simple parking lot to stretch our legs. We have a 1.5 hour seat time goal, and at the very most we stop every two hours to keep from getting the dreaded geezer complications like blood clots and such. Make it as stress free as possible!!!
3. The trip route itself: We have found that driving in the major cities is a very stressful situation, and if possible we like to take side routes around them. If we must drive through a city (zoo, nightmare, traffic deathtraps) we will find a semi truck that is not in the right lane but one to the left of that and just stick behind them. If they move to the right lane they are probably about ready to get off the freeway, so stay where you are and find the next semi to follow. Give yourself enough room so that the friggin "free flight death trap drivers" can get in between, but stay close enough that people that get between you and the truck will probably move quickly either right or left out of your way. People like the left lanes as they usually move faster, so find that sweet spot between people exiting or going light speed and just hang there using the big truck in front of you to clear the way. "No Hurries, No Worries" is our motto when driving through cities, well everywhere for that matter. The biggest stress areas in the big city area construction zones with a barrier on both sides of you and about three micro inches of room to spare (the way it feels sometimes). Can't take your eyes off the vehicle in front of you, so the checking on the side clearance is a micro second maneuver and decision.
4. Try to see everything within reason during your trip. Chances are this will be your last time traveling through the area, so during your planning stages do a bunch of Google searches like "things to do in hoedunktown" when planning your route. I takes us way more time to plan a trip than it does to take the trip it seems. We are continuously looking while we are traveling as well. The flexibility thing lets you make the side trips to "Monster Snakes of the Human Species" and "Martians From Milwaukee Historical Museum" type of things that can quickly turn into a unexpected highlight of your entire trip! Slow down and smell the roses as the saying goes.....
5. Go to bed fairly early, sleep until 6-7ish, have a cup of coffee and a breakfast, break down and be on the road by 8-9 at the latest. We usually shoot for 8am, which means we are easily pulling into our next stay before 3pm. This gives us time to check local things out, maybe hit the park hot tub, or just setup the loungers. Nothing better than enjoying the events on display from other RV'ers as they run over signs, trees, posts or such things as portable solar panels while trying to get into their sites. Free entertainment is a wonderful thing, sometimes educational as well!!!
Hope the above helps a little, if not it is now in print so we can go back and read it a few times while planning our next adventure!
Happy Rv'ing Everyone!!! May your trip be safe, fun, and memorable...
Miscellaneous Pictures From Non-RV Trips
Montmorency Falls, Quebec Canada

Depot Bay area, Oregon Coast

Boston Mass

Otavalo, Ecuador

Sitio Arqueológico Iximche, Guatemala

Gatun Locks, Panama

Blue Footed Booby, Galapagos Islands

Grulla Coronada Cuelligrís, Aviario Nacional de Columbia, Cartagena Columbia

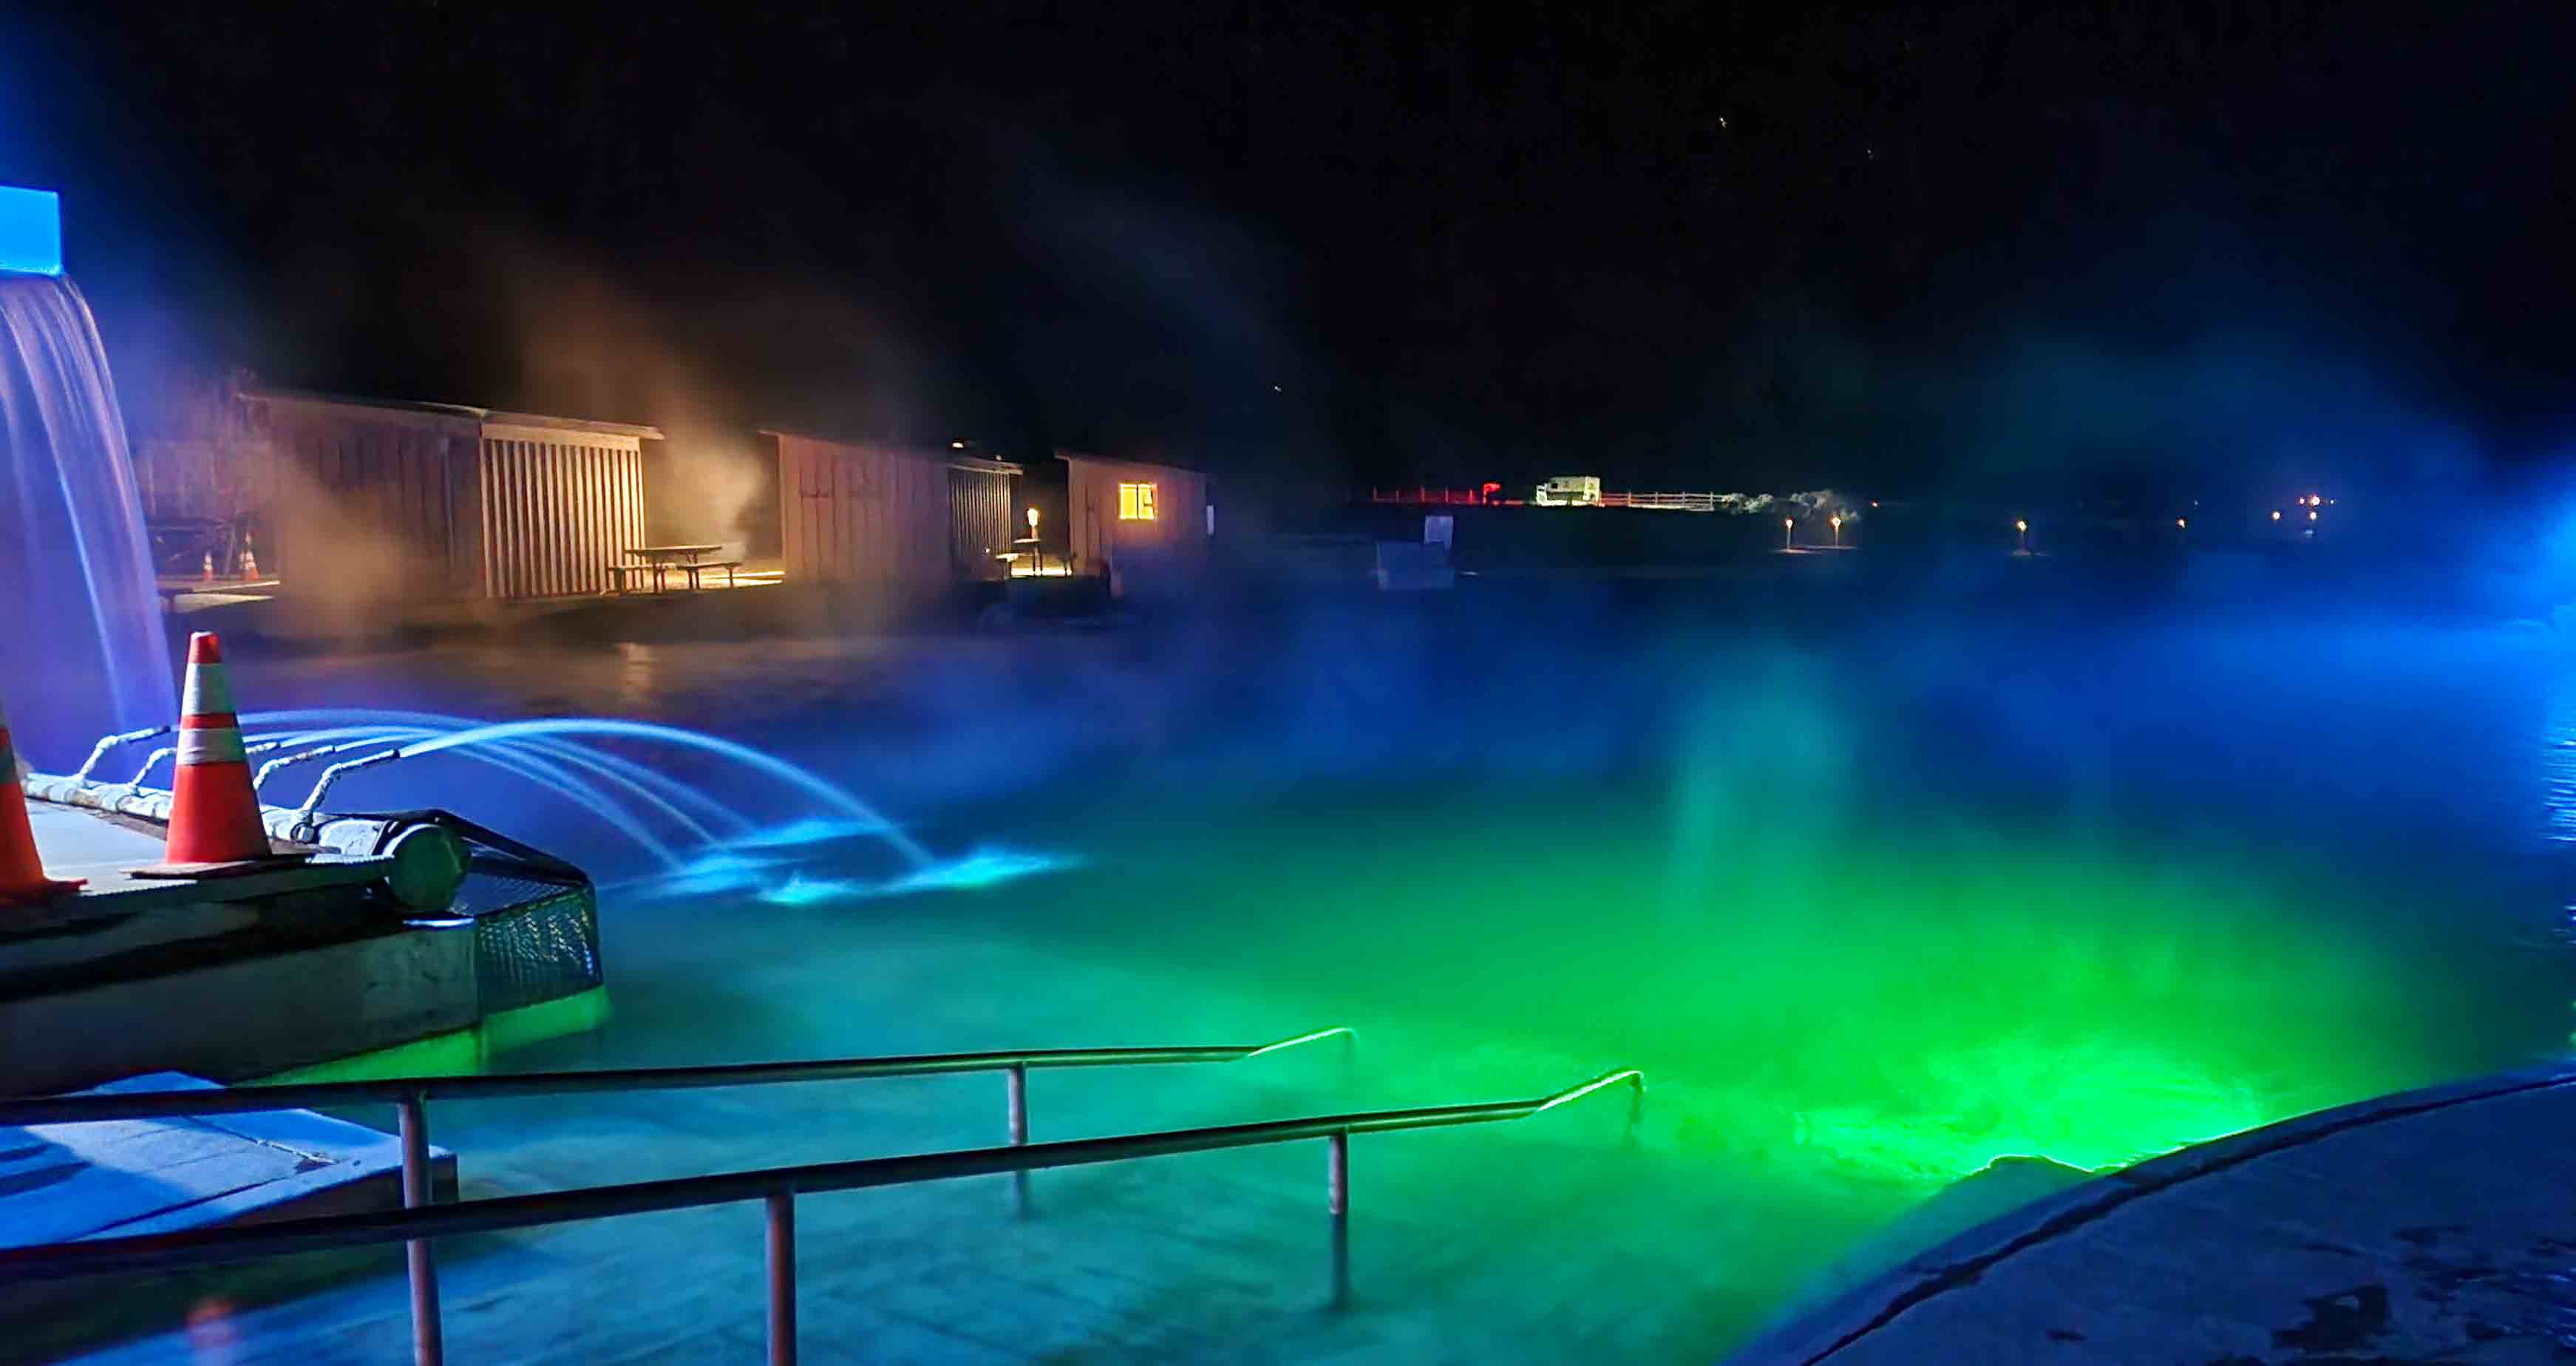
Crane Hot Springs, Burns Oregon
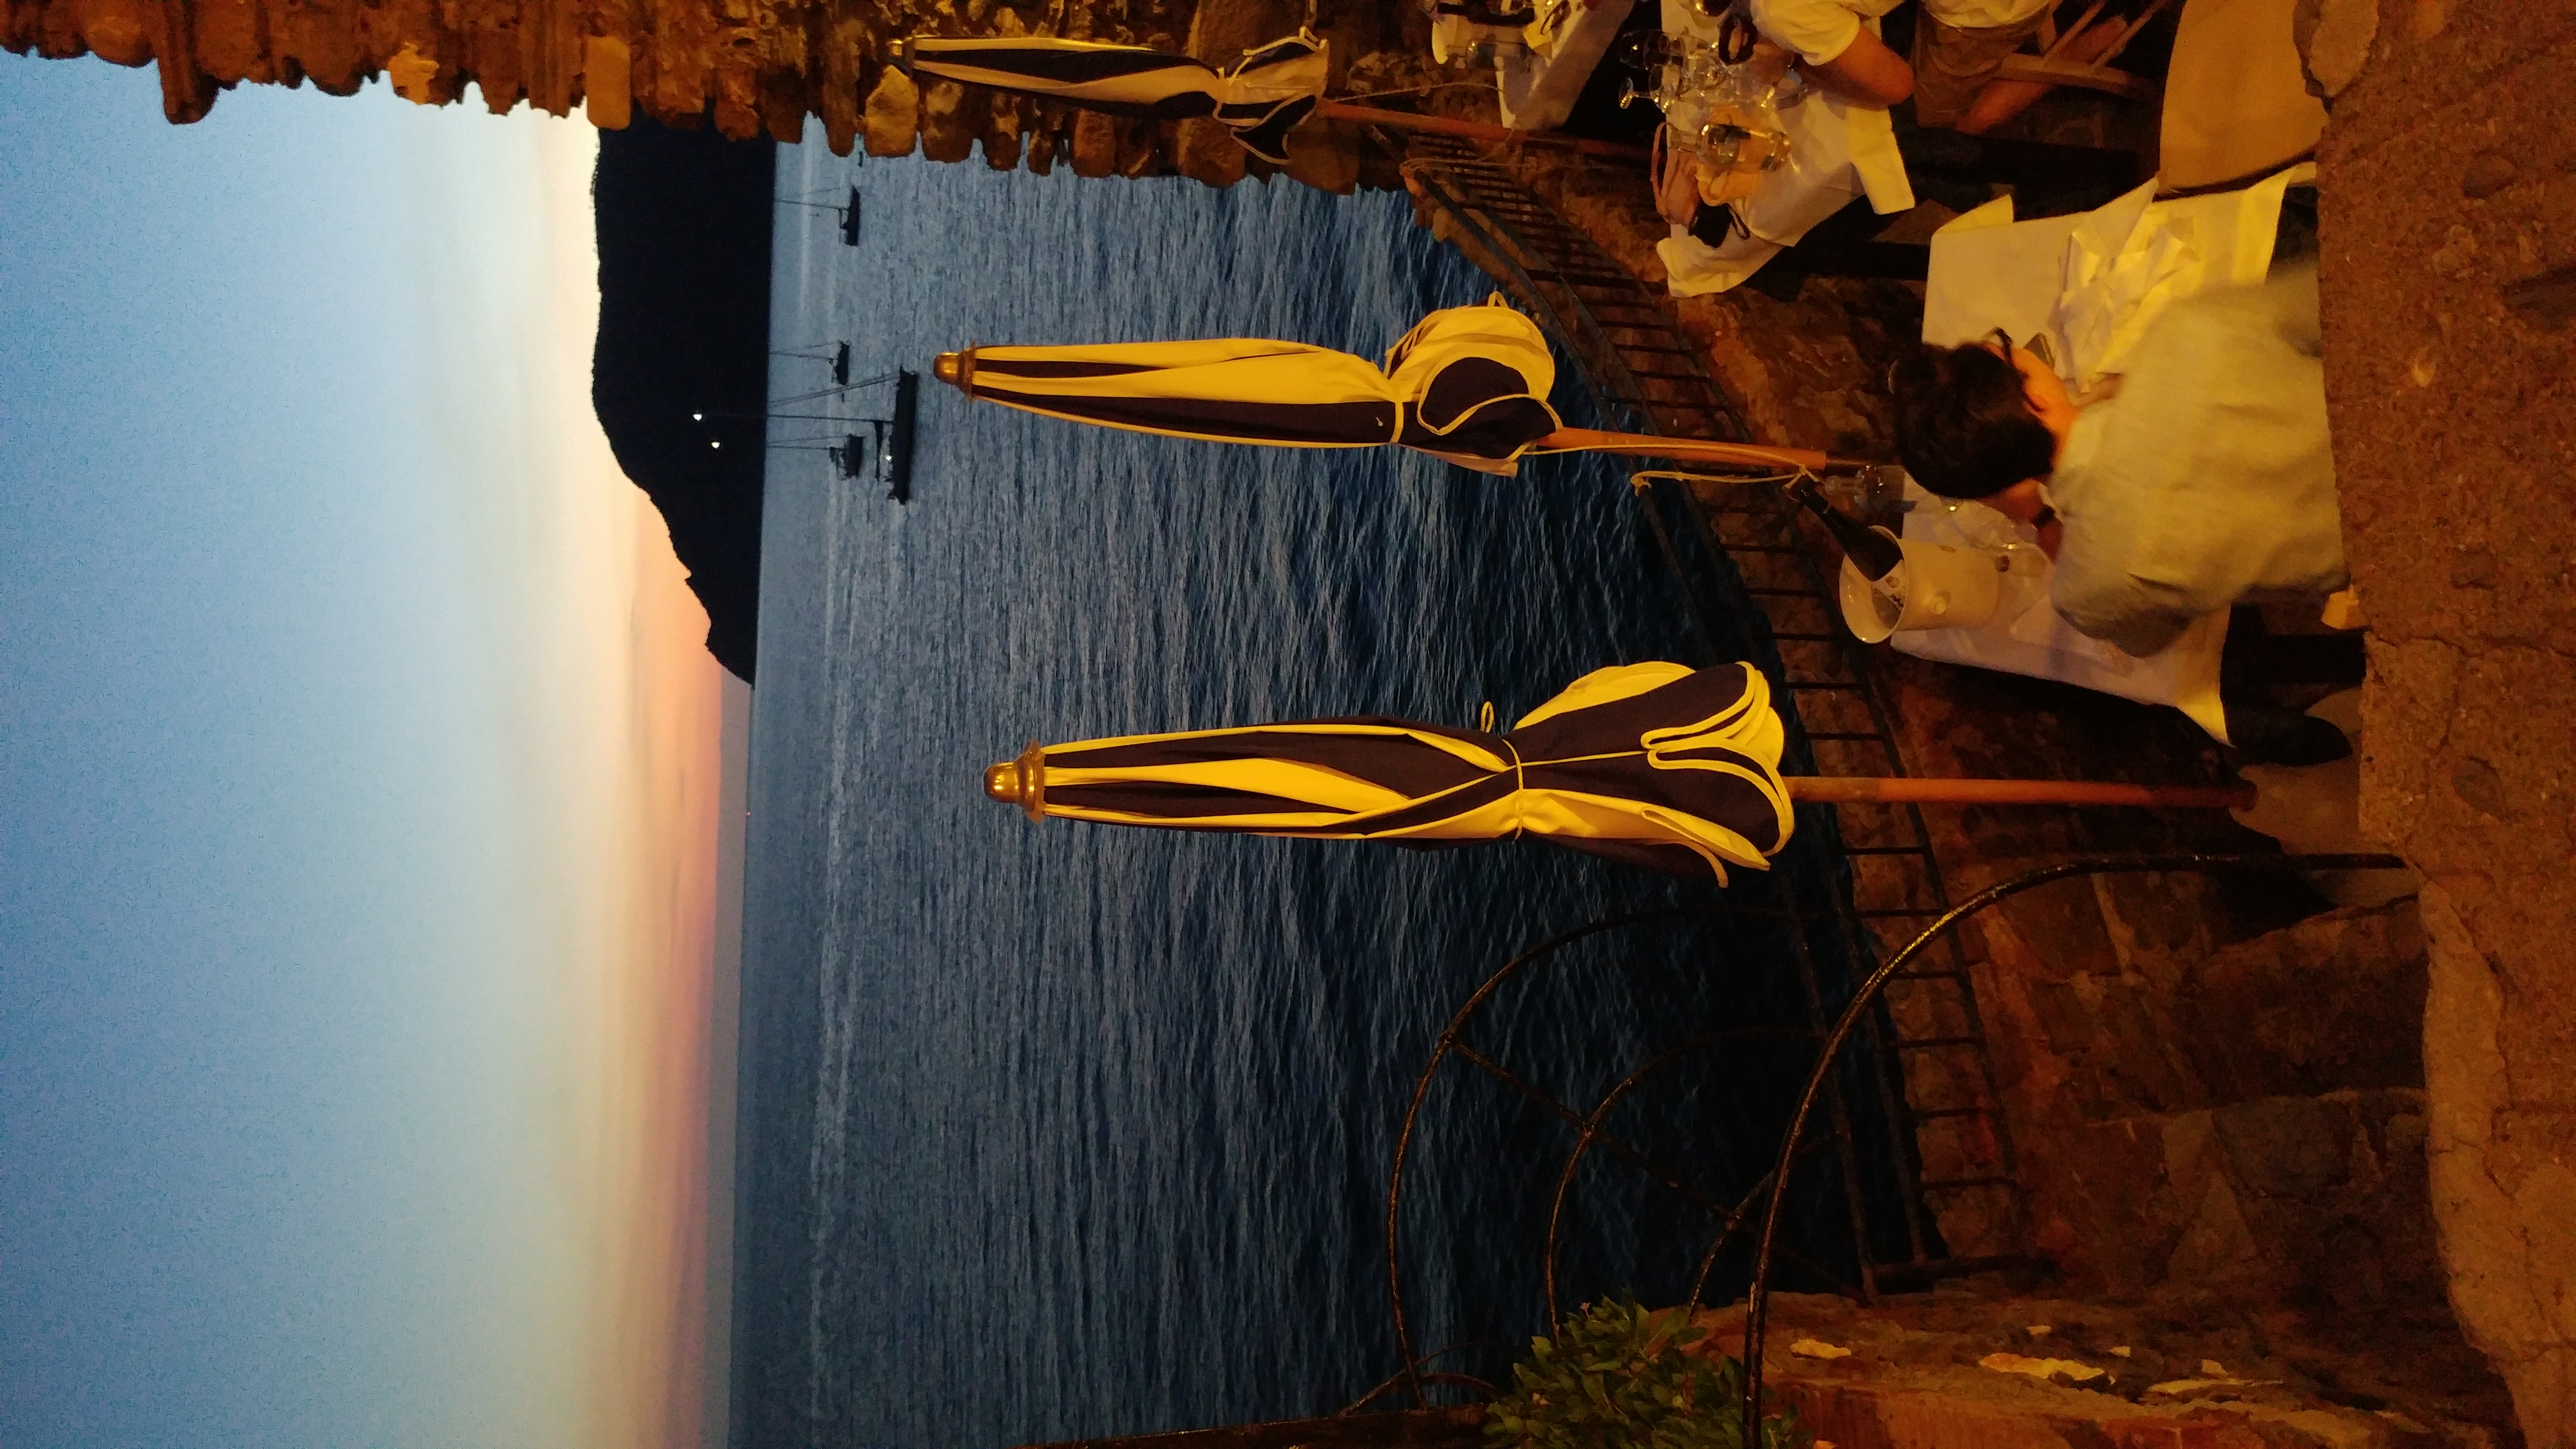
Ristorante Belforte, Vernazza Italy (CinqueTerre)
St Andrews Cathedral, St Andrews UK
